
Have you been enjoying the One Sheet Wonder stamping templates in my latest posts? Well today I want to show you how to use one of the templates, in a different way, to create 4 beautiful cards featuring the Daisy Garden stamp set. Plus, you can use this template to create cards in landscape or portrait style.

Landscape Style One Sheet Wonder
First let’s talk about how to create the landscape style cards. Start with an 8 x 10⁻¹/2 inch piece of Crumb Cake cardstock. On the 8 inch side, make a tick mark on the top and bottom of the cardstock, with a pencil, at 4 inches. Lightly draw a line from the top tick mark to the bottom tick mark using the pencil.
Turn the cardstock to the 10-1/2 inch side, randomly stamp the daisy image across the Crumb Cake cardstock using Early Espresso ink. Be sure to stamp the image below the pencil line. Turn the Crumb Cake cardstock 180 degrees and repeat the stamping process. You will end up with the stamped images above and below the pencil line. Color in the daisies using a white and daffodil delight watercolor pencils.


Once you have colored all the images, place the 8 inch side of the Crumb Cake cardstock in your paper trimmer. Line up the edge of the cardstock at 4 inches and cut the cardstock piece in half. You will end up with the two pieces of cardstock measuring 4 x 10⁻¹/2 inches. Place one of the 10-1/2 inch long cardstock pieces in the paper trimmer. Line up the edge at the 5-1/4 inch mark and cut the piece in half. Repeat this cutting process with the other 10-1/2 inch piece of stamped cardstock. You will end up with 4 pieces of stamped and colored crumb cake cardstock measuring 5-1/4 x 4 inches.
Daisy Garden Card Ideas
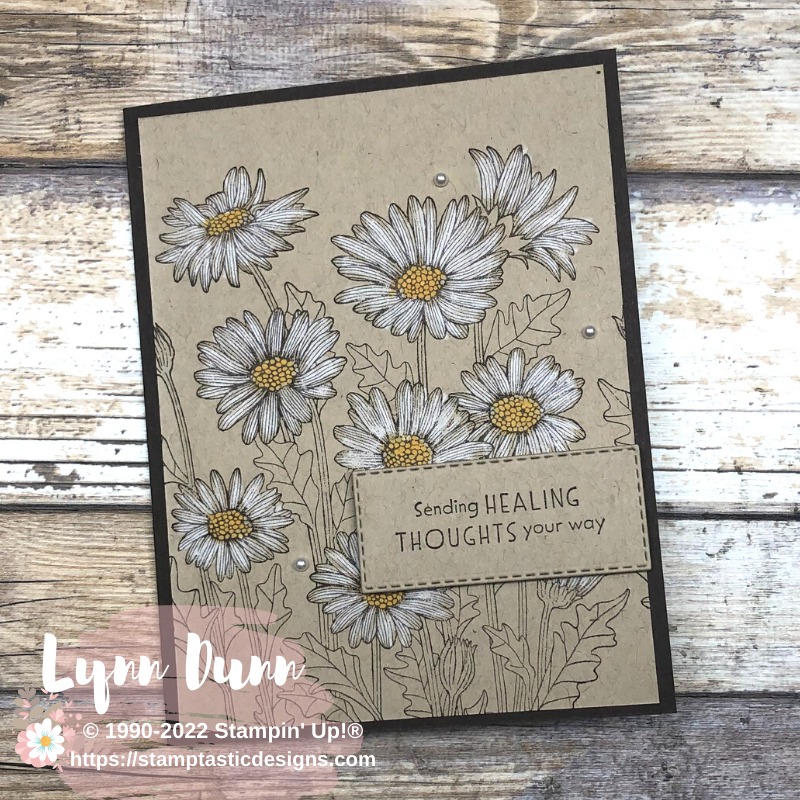
Once you have finished the stamping and cutting of the cardstock, you are ready to assemble the cards! Start by cutting a 5-1/2 x 8-1/2 inch piece of Early Espresso cardstock. Score the 8-1/2 inch side at 4-1/4 inches to create the base of the card. You will need a total of 4 card bases. Simply adhere the 5-1/4 x 4 inch pieces of crumb cake cardstock on the card front. For the finishing touch, add a greeting and a few pearls.
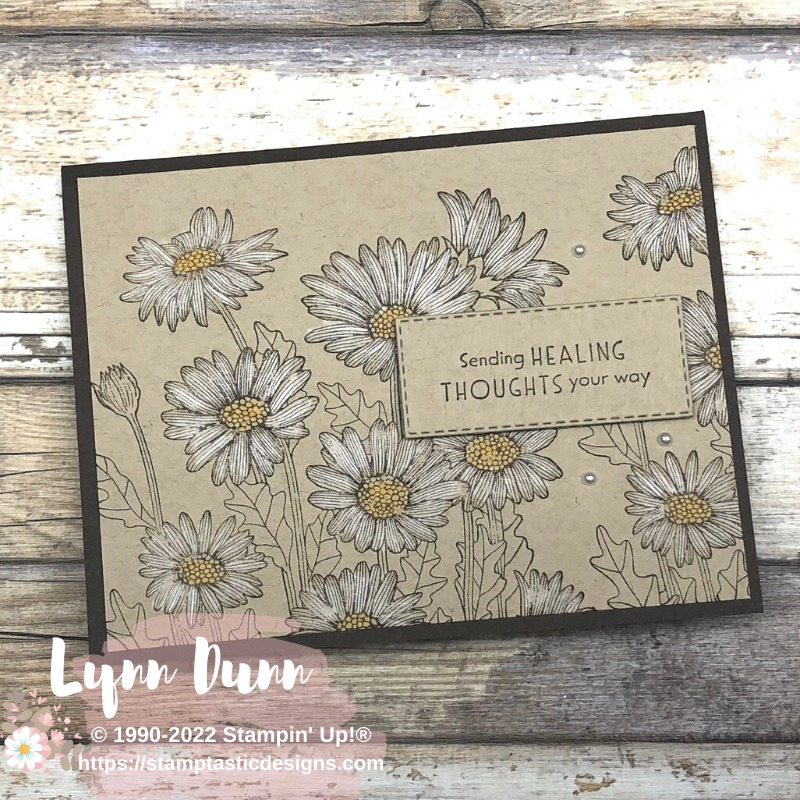

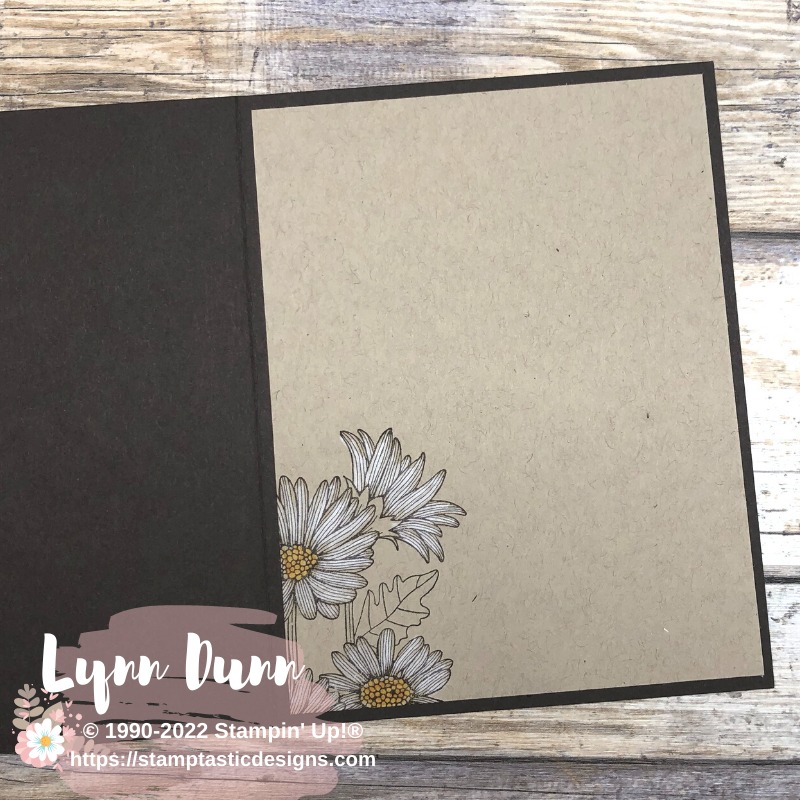
You can also stamp the daisies on a 5-1/4 x 4 inch piece of crumb cake cardstock to decorate the inside of the card. Color in the images using the white and daffodil delight watercolor pencils.
The assembly of the portrait style cards is just as simple. Once you complete the stamping and cutting, as described below, you can assemble the 4 cards. You are simply changing the orientation of the stamping on the card, not the measurements of the cardstock.
Portrait Style One Sheet Wonder
To create the portrait style one sheet wonder, we will use the exact same supplies. Start with an 8 x 10⁻¹/2 inch piece of crumb cake cardstock. This time we will make the pencil mark down the 10-1/2 inch side. On the 10-1/2 inch side, make a tick mark on the top and bottom of the cardstock, with a pencil, at 5-1/4 inches. Lightly draw a line from the top tick mark to the bottom tick mark using the pencil.
Turn the cardstock to the 8 inch side, randomly stamp the daisy image across the Crumb Cake cardstock using Early Espresso ink. Be sure to stamp the image below the pencil line. Turn the Crumb Cake cardstock 180 degrees and repeat the stamping process. You will end up with the stamped images above and below the pencil line. Color in the daisies using a white and daffodil delight watercolor pencils.


Once you have colored all the images, place the 10-1/2 inch side of the Crumb Cake cardstock in your paper trimmer. Line up the edge of the cardstock at 5-1/4 inches and cut the cardstock piece in half. You will end up with the two pieces of cardstock measuring 5-1/4 x 8 inches. Place one of the 8 inch long cardstock pieces in the paper trimmer. Line up the edge at the 4 inch mark and cut the piece in half. Repeat this cutting process with the other 8 inch piece of stamped cardstock. You will end up with 4 pieces of stamped and colored crumb cake cardstock measuring 4 x 5-1/4 inches.
Tutorial & Supplies
So there you go! Now you have a fun way to use this One Sheet Wonder to create 4 cards in either landscape or portrait style. The cards feature the Daisy Garden and Inspired Thoughts Stamp sets. However, keep in mind you can use any stamp set and any colors you have on hand to create your own one sheet wonder design.

I hope you enjoyed these cards ideas. Be sure to watch the video to see the stamping and cutting process in action. Have a fun and creative day! ~ Lynn
Hello Lynn, I love what you have done with your cards by using the Bouquet stamp. You always have wonderful ideas! As soon as my stamp comes in from SU, I will be trying your idea. Absolutely beautiful.
Thanks so much Mary! I appreciate your sweet comments. Have fun with these ideas and your new stamp set!
Your emails are not showing the designs of your one sheet wonders. I’m only getting the instructions. I am just informing you hoping I’m the only one having this problem. I can get them on your website but of course that’s not as convenient to save for future use. Love your ideas. Pat ( South Australia)
Thank you Pat. I know the email generated from my site is not the best. I will see if I can adjust it. You are right…it’d always best to go directly to the site I appreciate the feedback
Lynn, this is simply genius! I never make just one of the same card so making 4 is a triple bonus and so easy! I love the early espresso ink on crumb cake card stock and coloring with water color pencils. I haven’t used them in awhile so you have inspired me to use them again. Beautiful cards! Thank you for sharing.
Thanks so much! It’s such a great technique. Have fun with it!